Manage guests
Every user can enter a guest in OSIRIS by default. The entry should always be made by the supervisor. Every newly registered guest receives an ID, which you can find at the top left of the form to be filled in. In principle, only guests that you have created yourself are visible to you. However, this can be changed by the administrator by assigning rights.
Register guests
If you select Guests in the menu on the left, you can open the form for a new registration by clicking the Register new guest button at the top.

Form for registering a new guest in OSIRIS
When registering a guest, you must specify the duration of the stay, which you can also extend later. If you are not looking after the guest yourself, you can select another person to do so here. You must also specify the purpose of the stay and the funding. You can choose from a number of options in the drop-down menu. For financing, you can also select Other and then enter an individual value.
In addition to the mandatory information, you can enter further options for the guest in the following section.

Optional information that you can enter for guests
Here you can enter the guest's name, contact information or school/university/company.
Extend or cancel stay
People who have created the guest and/or who have been specified as the supervisor can extend or cancel the guest's stay.

The guest's stay can be cancelled with one click - this can also be cancelled again afterwards. The stay can also be extended
Deposit documents and chip
If you have the rights to view and edit guest documents, you can link another person to the guest in addition to the carer.

Further options that can be specified for the guest. This is only possible if you have the rights for the guest documents
You can also store documents here and enter a chip number if access chips are issued to guests at your institution.
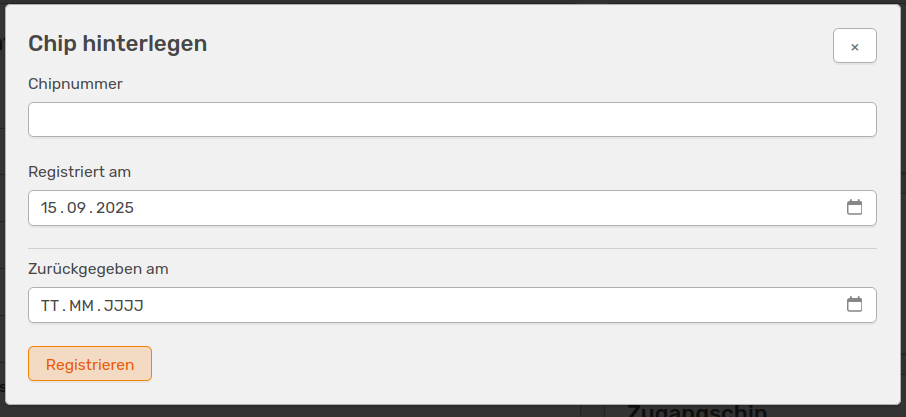
Storing a chip number
Here you can also specify when the guest was registered and when the chip was returned.